
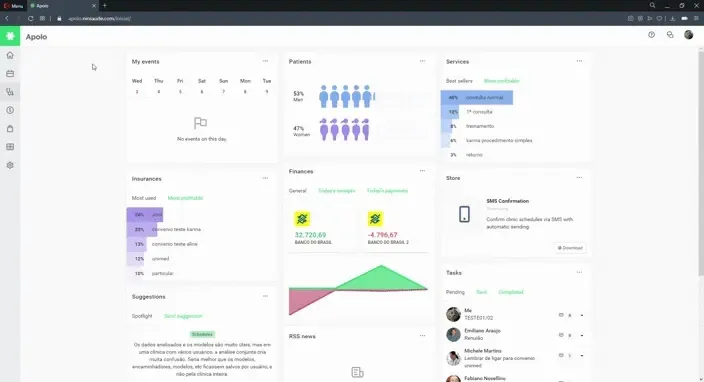
The odontogram is a graphic diagram where all the teeth of the patient's upper and lower jaw are marked, and it is from this that the health professional prepares the treatment plan.
There are three types of odontogram: geometric, anatomical, and double-digit. The digital odontogram of Ninsaúde Apolo was developed in a different way to enable health professionals to better document each case treated. For this reason, in this odontogram, you will see a mixture of the geometric model with the two-digit model.
Also, the Ninsaúde Apolo odontogram gives freedom to the health professional so that he can easily mark areas of the tooth, and in any way he wants, an advantage that most digital odontograms do not have.
Before we continue, we need to ask: Do you already know our system Ninsaúde Apolo for health clinics? The health software Ninsaúde Apolo has an agile and complete schedule, personalized electronic medical records for each specialty, and with legal validity, teleconsultation, financial control, and much more. Schedule a demo or try the Ninsaúde Apolo clinic's software right now!
How to activate the Ninsaúde Apolo odontogram?
The odontogram tool is related to the service screen, that is, the place where the health professional makes notes on the patient's medical records.
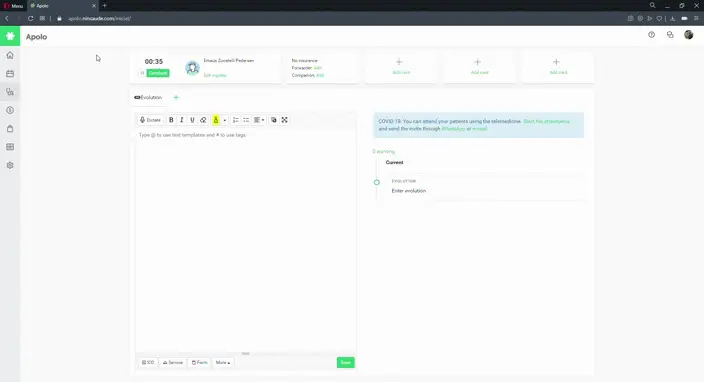
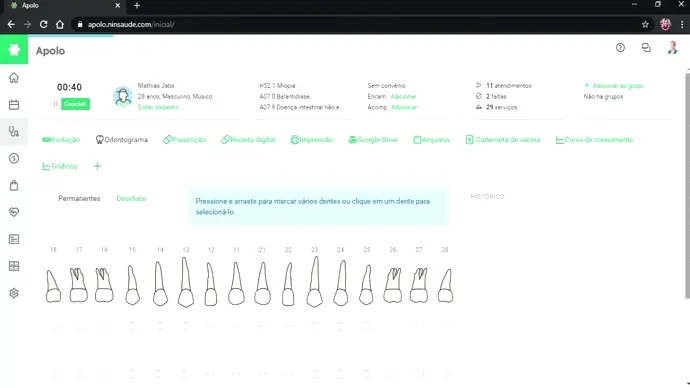
To start a medical record, the health professional must access the Attendance menu/submenu, locate the patient in the list of appointments for the day, and press Start. If the patient does not have an appointment, press New > Attendance.
As it is a customizable medical record, when accessing the service screen, it will be necessary to activate the Odontogram tab. To do this, just click on the ➕ icon above the evolution, activate the Odontogram option, and press save.
How does the Ninsaúde Apolo odontogram work?
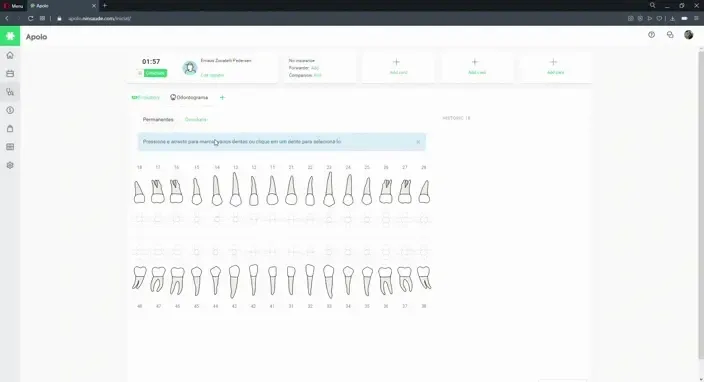
When accessing the odontogram, the health professional will be able to see all the teeth, which can be easily identified by their numbering. The health professional will be able to switch the view between permanent or deciduous, and once this is done, just click on a specific tooth to start your notes.
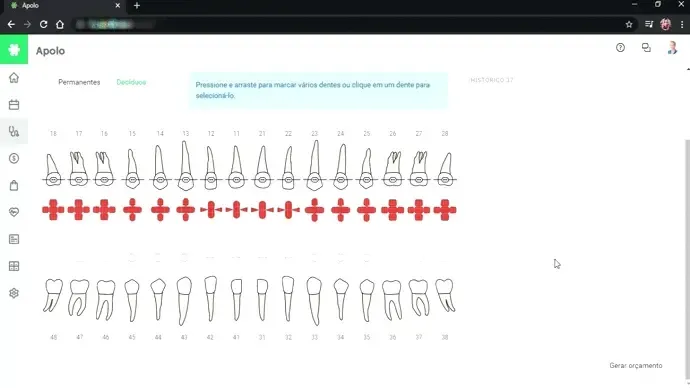
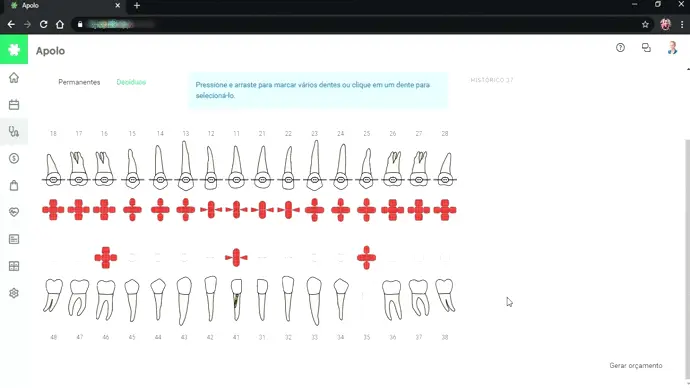
If the procedure is performed on several teeth (as in the case of the fixed orthodontic appliance, for example), you can select them at once by pressing and dragging on the screen. See the two examples below:
When selecting the teeth individually, the health professional can define whether the service will be done only on the face, on the root, or depending on the situation, can select the tooth option, as in cases of extraction, where it is not necessary to mark only a specific area in the odontogram.
In some cases, it is also possible to choose the type of illustration that will be registered in the odontogram. For example, if the root option is chosen, you can select an illustration of orthodontic or pin treatment. In the tooth option, you can choose between missing tooth, implant, or no illustration.
It is also possible to select a status, that is, the progress of that treatment. Each status is identified by a color, which are:
- To do (red)
- Done (green)
- Redo (blue)
- In progress (yellow)
After selecting the status, just click on the faces to mark where the procedure will be done, or press and drag to mark several faces. Another option is to select the desired faces by holding down the CTRL.
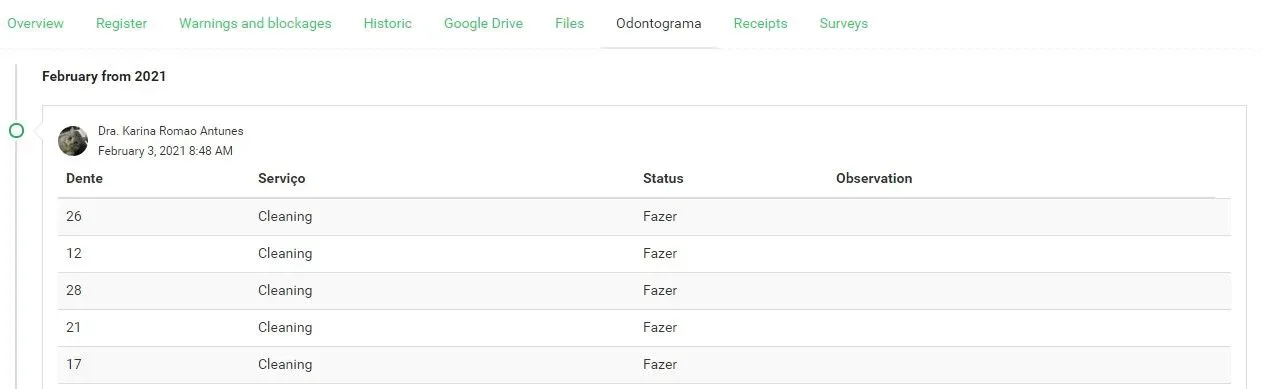
Another detail to highlight is that when marking a tooth, it is also possible to insert an observation. When finished, passing the mouse cursor over the tooth, on the right side of the screen, the professional will be able to view the history of changes. The detailed history with the inserted observations is available in the patient's register, in the Odontogram tab.
And finally, we have the budget. Whenever making markings on the teeth using the odontogram, at the end of the service, the health professional can press the button Generate budget.
It is also possible to generate the budget without having to make the marks first, however, it will be necessary to add the service, region (permanent or deciduous), and tooth, manually. After that, you can print the budget.
It is worth mentioning that, in the patient record, in the odontogram tab, it is possible to view the entire history of procedures performed. Thus, before starting the service, the health professional can access the registration and view in advance what has already been done.
Ninsaúde Apolo is a software that receives updates constantly, to better serve our customers and friends.
Soon more news will be available, and if you are not yet a Ninsaúde Apolo customer, request a demonstration with one of our sellers through the Apolo.app website, just fill out the form.
